App Store screenshots from a screen recording.
Updated
You already have the one asset a listing needs: the app, running. Record it once, and the screenshots, the headlines and the layout follow. Here is the whole route, and where each step can go wrong.
1. Record the app
On an iPhone, open Control Centre and tap the screen record button, then walk through the app for up to two minutes. On a Mac, record the Simulator with the record button in its toolbar or with QuickTime. Either gives an .mp4 or .mov, which is what the studio takes.
Pause on each screen. A second of stillness on every screen you want in the set gives clean frames. Fast scrolling gives blur. Use real-looking data: a listing full of "Test item 1" is the most common reason a set has to be redone.
2. Drop it in the studio and set it up
Open the studio and drop the file. Frames are pulled from the video by code running in your browser. The recording itself is not uploaded, which also means there is no wait for a two-minute file to reach a server.
Give the app a name and one line on what it does if you like. Both are optional. The model reads the screens themselves, and the name only keeps the headlines from guessing at it.
Then choose the set: how many screens, the style, and the frame around each screen. A style sets the page, the type and what lifts off the screen: Minimal, Pop, Editorial, Night, Playful or Billboard. Tick the poster if you also want the whole set as one image, and the header for the wide image at the top of an iOS 27 product page. To get only the header, pick Header only. It is one credit. The style pages show every one at size.
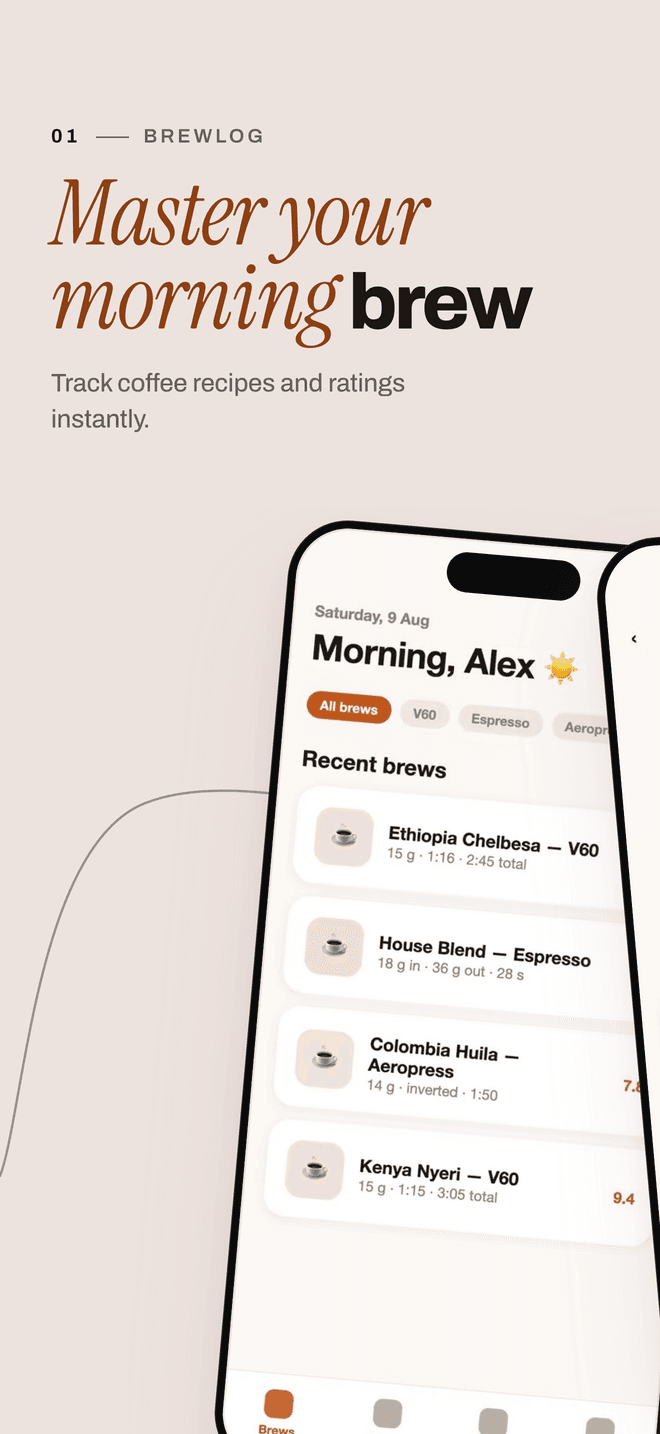
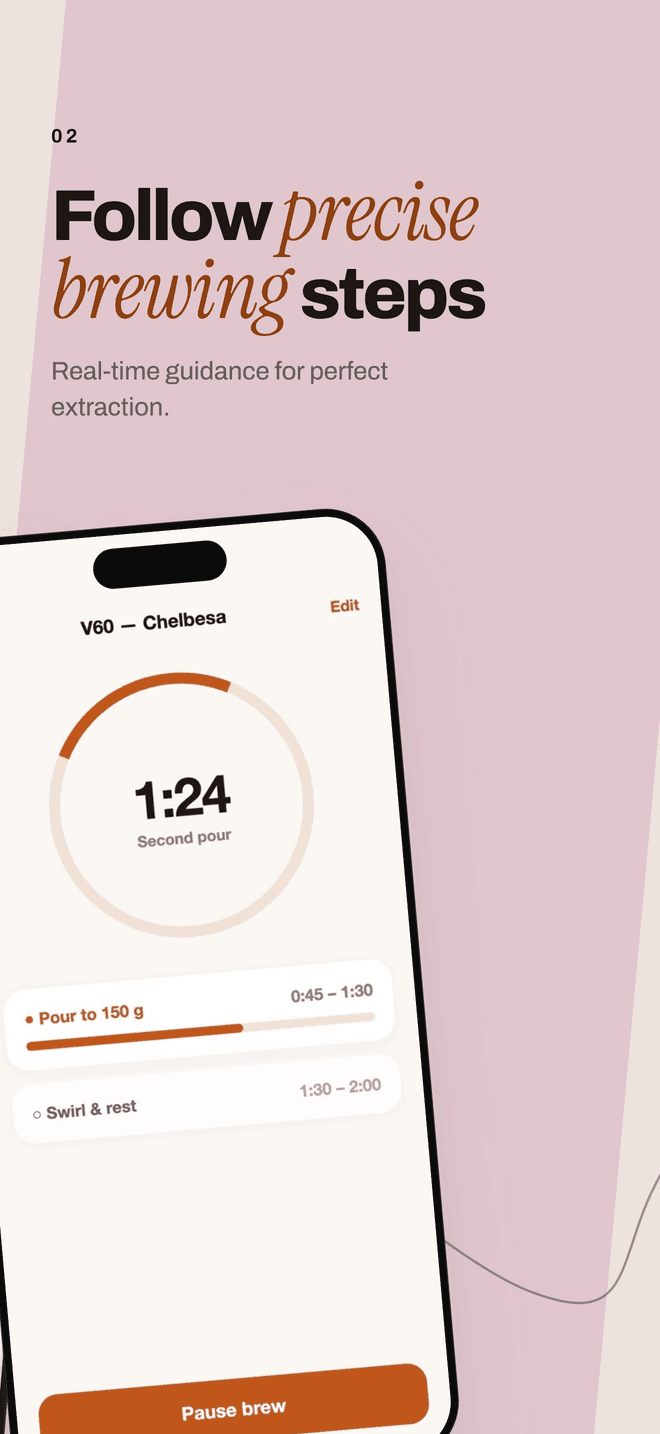
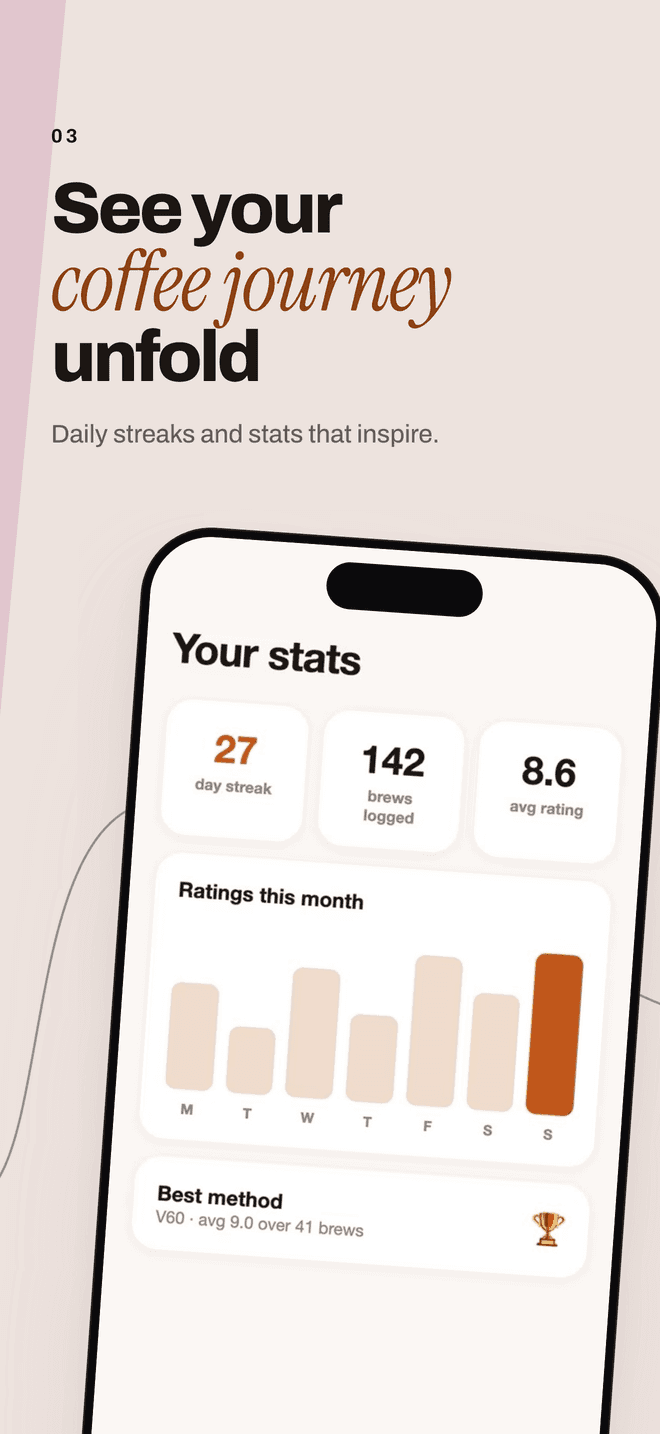
Choose the style before you generate. Generate locks the style and the poster and header ticks. After that, another style for the same set is one credit.
3. Pick the screens and generate
You get a grid of frames. Untick anything that should not be in a listing: sign-in forms, empty states, a screen mid-transition. Only the frames you leave ticked are sent, and only as small images. From those, the best ones are chosen: three on a free run, up to seven with credits.
Which screens sell an app. The first screenshot is seen by everyone and the fourth by almost no one. Put the screen that shows the outcome first, not the home screen. Show a populated state, never an empty one. Search results show the first three, so check them at search size.
4. Check the set
Each screenshot gets a headline and a subtitle. If a screen is wrong, swap it for any other frame from the recording and the set renders again. That costs nothing, and neither does a change of frame or of the flow across screens. Another style, the poster or the header, added after the set is made, is one credit each.
5. Download and upload
The set downloads as a zip of PNGs at 1320 × 2868, the largest iPhone size App Store Connect takes. Apple's spec says it scales a set down for smaller iPhones. The size table has every size and the one Apple marks as required.
In App Store Connect open the version, go to the largest iPhone display, and drop the files in the order you want them shown. The order is the argument for the app, so lead with the outcome.
What this costs
The first set each day is free: the hero screenshot in full, the others blurred until unlocked. One credit unlocks it. A paid set costs by size: three screens are one credit, four or five are two, and six or seven are three. The poster and the App Store header are one credit more each, and so is another style after the set is made. Packs start at $9 for 3 credits. See pricing.
Try it on your own recording.
Drop in a screen recording. appstills picks the best screens, writes the headlines and renders the set.
The first set each day is free.